
Pattern Search Review Window
As described in the Pattern Search Overview, the last step in the search pattern process uses the Pattern Search Review Window to review the results, include or omit some patterns and generate the measurement.
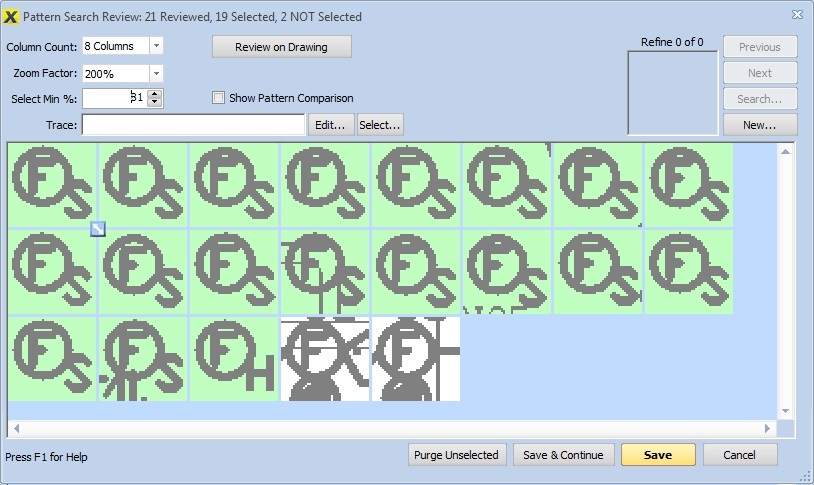
Figure 1: Pattern Search Review Window
Most of the window is filled with the pattern results. This is a grid of the matches found. The best match is in the upper-left-hand corner with matches decreasing in quality as you go across and down the grid. The toolbar at the top of the window has controls to change the way the matches are displayed.
Search Controls
Column Count: - Select from this drop-down list to change the number of matches displayed in each row.
Zoom Factor: - Select from this drop-down list to change the zoom level for displaying the matches.
Select Min %: - You can change this percentage to automatically select only matches that meet or exceed the minimum match percentage.
Trace: - This field displays the trace that will be used when the patterns found are converted into a measurement. You can press the "Edit..." button to edit the trace and/or press the "Select..." button to select a standard trace.
Review on Drawing Button: - Press this button to review the matches on the drawing. The Pattern Review Window will be hidden and (optionally) a hint window will be displayed.
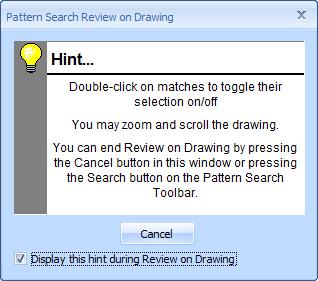
Figure 2: Review on Drawing Hint Window
During the review, you can double-click on the match in the drawing window to toggle its selection status. You can end Review on Drawing and return to the review window by pressing the "Cancel" button in the hint window or clicking the "Start/Resume Pattern Search" button in the Pattern Search Toolbar or the Ribbon Bar Drawing Tab.
Note: During Review on Drawing, you can zoom and scroll the main window.
Show Pattern Comparison -
In comparison mode, the current pattern is shown in comparison to
the original pattern. Pixels that are white in both cases are shown
in white. Pixels that are black in both cases are shown in dark gray.
Pixels changed from black to white are shown in a light red. Pixels
changed from white to black are shown in dark blue.
Note: These are the default colors. Different colors can
be selected via the
User Preferences.
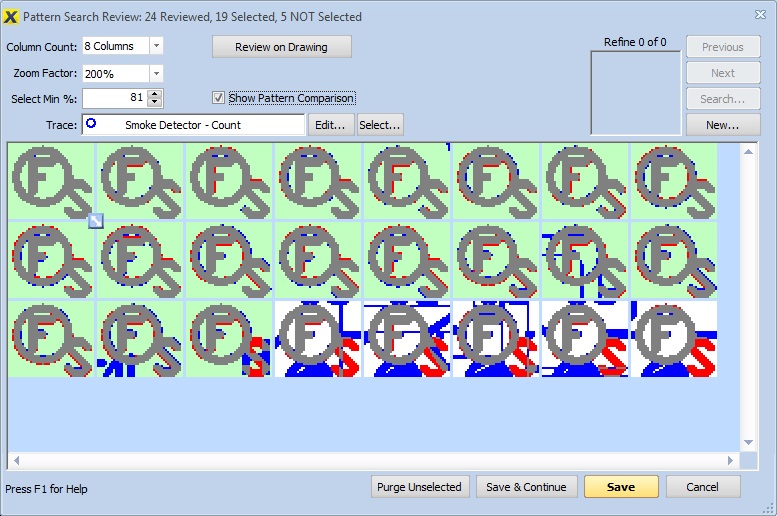
Figure 3: Pattern Search Review Window, Comparison Mode
The Refine Controls on the upper-right side of the window will be discussed below.
Selecting and Reviewing Matches
When the review window is initially displayed, matches are selected if they meet or exceed the select percentage specified in the Search Edit Window. During the review process you can change the selection in several ways.
Toggle the Selection of a Single Match - Simply click on a single match to toggle its selection. This will also place the "focus" on that match.
Toggle the Selection of a Range of Matches - Ranges run from left to right and top to bottom, wrapping like text in a paragraph. To change the selection of a range of matches, first click on one end of the range to toggle its selection. Then hold down the Shift key and click on the other end of the range. All matches in the range will be changed to the selection status of the first match you clicked on.
Expand the displayed area - You can expand the area shown around each potential match by dragging the Expand Button in the lower-right corner of the top-left image (see figure 4). As you drag, the display area of the top-left image will change. When you release the drag, the display area for all matches will change. When refining the search (described below), you can select the refinement pattern from anywhere in the expanded display.
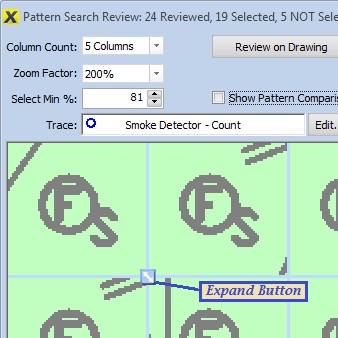
Figure 4: Pattern Search Review Window, Expanded Display Area
Review the match in the drawing - Sometimes you need to see the matches in the context of the drawing. Simply double-click on the match. The main drawing window will be scrolled so that the match is in view. A green rectangle will be draw around selected matches. A red rectangle will be drawn around unselected matches. The focus pattern (the one you double-click) will have a thicker rectangle. You may need to move the review window to see the main window.
Other Review Controls
Status: - The Window title displays a count of the number of matches reviewed and selected.
Purge Unselected - Press this button to purge all unselected matches from the review window.
Save & Continue - Sometimes a search will return a collection of matches that should be separated into multiple measurements. You can select those for the first measurement. (Perhaps using the Refine technique described below.) Once they are selected, press the "Continue" button. A measurement will be created using the selected matches and trace. The selected matches will be removed from the review window. You can then create more measurements from the remaining matches.
Save - Once you have reviewed the matches and set the trace, press this button to convert the selected matches into a measurement and close the review window. This completes the pattern search.
Cancel - Press this button to cancel the pattern search without creating a measurement.
Refining the Search
Some patterns consist of a large pattern with a smaller pattern inside or near the large pattern. For example, lighting fixtures are often shown as a large rectangle with a small letter inside or nearby specifying the fixture type. You can use the "Refine" capability to select a subset of the original matches based on the smaller pattern.
The Refine controls are in the upper-right corner of the window. To start a new refine, press the "New" refine button. The match that has the focus will be displayed.
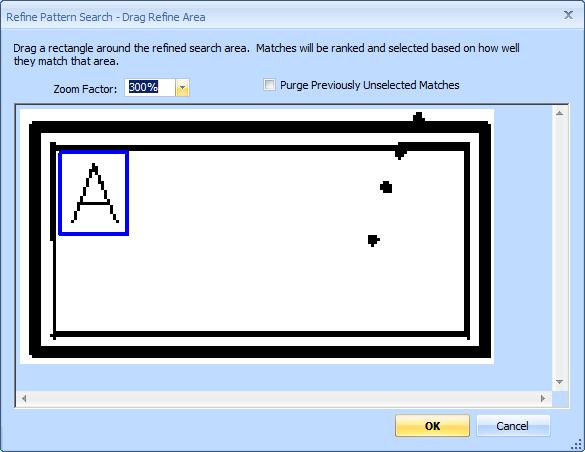
Figure 5: Refine Search Area Window
In this window you can drag a rectangle around the area you want to use for the refined search. If you check the box "Purge Previously Unselected Matches", matches that were unselected before the refined search will be deleted from the review. Once you drag the refined search area, press the "OK" button to refine the selection and return to the review window.
If you have searched for this pattern previously in the project and did refined searches, those refined searches will be available to use again. Use the "Previous" and "Next" buttons to navigate through the existing refinement patterns. As you do, they will be displayed to the left of the refine buttons. If you find one you wish to use, simply press the "Search" button. The matches will be ranked based on how well they match the refined search. The "Search" button will change to a "Cancel Search" button. Press this if the refine didn't do what you wanted.