Adding Point Symbols
Point symbols are added by selecting them from a drawing or document that is open in Dimension. First open the drawing or document and zoom in on the desired symbol. Then invoke the Point Symbol List Window from the Settings tab of the ribbon bar or the Options tab of the main menu.
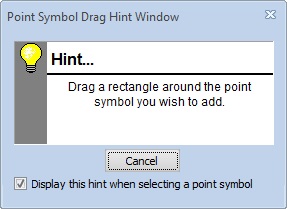
In the Point Symbol List Window, press the "Drag New" button. The list window will disappear and the Point Symbol Hint Window will be displayed (unless you have turned the hint off).

Figure 1: Point symbol drag hint window
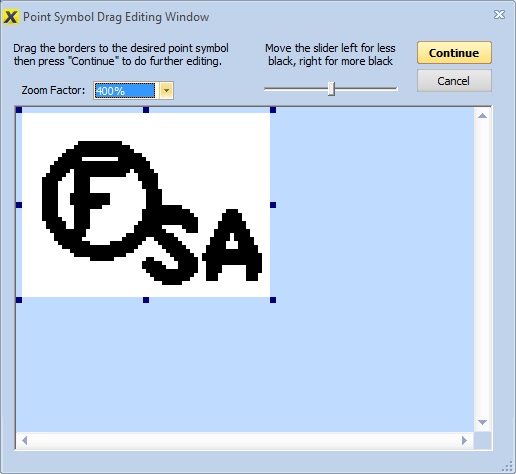
Drag a rectangle around the symbol you want to add. Don't worry about dragging too large an area, you can trim it during the next step. When you complete the drag, the Point Symbol Drag Editing Window will be displayed.

Figure 1: Point symbol drag editing window
You can do the following in the window:
- Use the Zoom Factor drop down to zoom in or out
- Move the slider left or right to show less or more black
- Drag the edges of the image to exclude any unwanted black. You don't need to worry about unwanted white, the borders will automatically be moved in to the smallest rectangle including all black pixels.
When you are finished, press the "Continue" button. The image will be trimmed of all white, squared up and converted to a 32 by 32 pixel bitmap.
Editing will continue in the Point Symbol Editing Window.
