
Calibrating Scales
In some cases, the scale may not be shown for a drawing or a detail, but one or more dimensions are specified on the drawing. In this case, you can specify the scale by "Calibrating" it:
Calibration is invoked by pressing the "Calibrate..." button on either the Drawing Scale Edit Window or the Detail Scale Edit Window. Calibration works as follows:
- Pick out a dimension specified on the drawing - the larger the dimension, the better the accuracy.
- Press the "Calibrate..." button. The scale edit window will disappear
and the first Calibration Hint Window will appear.
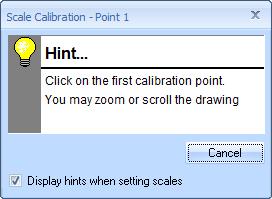
Figure 1: The First Calibration Hint Window
Move the hint window or scroll and zoom the drawing as needed, then click on one end of the selected dimension. You can press the hint window's "Cancel" button to cancel calibration. - When you click on an end of the dimension, the first hint window will
disappear and the second hint window will appear.
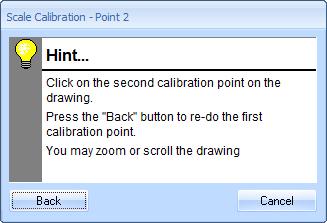
Figure 2: The Second Calibration Hint Window
Move the hint window or scroll and zoom the drawing as needed, then click on the other end of the selected dimension. You can press the hint window's "Back" button to re-do the first point or press the "Cancel" button to cancel calibration. - When you click on the other end of the dimension, the second hint window will disappear and the scale edit window will re-appear. The drawing distance for the selected dimension will be filled in and the focus will be on the Actual Distance. Enter the actual distance (remember that you can enter the distance in feet an inches, even with fractions).
Note: It's usually a good idea to Normalize calibrated scales as described in the Drawing Scale Edit Window or the Detail Scale Edit Window.